A real outfit change on a live stream means dead air: you walk off, chat stares at an empty chair, and the energy drops. This guide uses LiveGen's Outfit Swap mode, which changes your clothes from a clothing reference image and keeps your face, hair, and background. It runs in the browser on desktop or mobile, with nothing to install and no GPU needed on your side.
Key takeaways: swapping outfits on stream
- The outfit is generated live on your camera feed, so you never leave the frame.
- You bring it into OBS or similar software with a standard window or browser-tab capture. There is no LiveGen virtual camera or plugin.
- Usage is metered at one credit per second of live video, so plan timed segments instead of an always-on effect.
- Steady framing, even front lighting, and slower movement give the cleanest result.
- Expect softness on logos, small prints, and fast motion. Rehearse each reference before you go live.
Why a live outfit swap keeps up with you when an offline render cannot
Most AI clothing tools are batch tools. You upload a photo or a finished clip, a server renders every frame offline, and you get a file back minutes later. Any change means a new render. That is fine for an edited video. It is useless on a stream, where the input has not happened yet.
Live generation runs the other way. Your camera streams to LiveGen's real-time engine over WebRTC, and the transformed video streams back while you are still moving. Frames are generated continuously, so when you turn or lean in to read chat, the outfit follows. If a look is not landing, you switch the reference and keep going.
The trade-off: live generation favors responsiveness over per-frame polish. Text on a shirt, small prints, hands passing in front of your torso, and quick movement can look softer than in a slow offline render. For a stream segment, responsiveness usually wins. For a polished still, a batch tool may serve you better.
Setting up the outfit swap and routing the tab into OBS
Do this before you go live, not during.
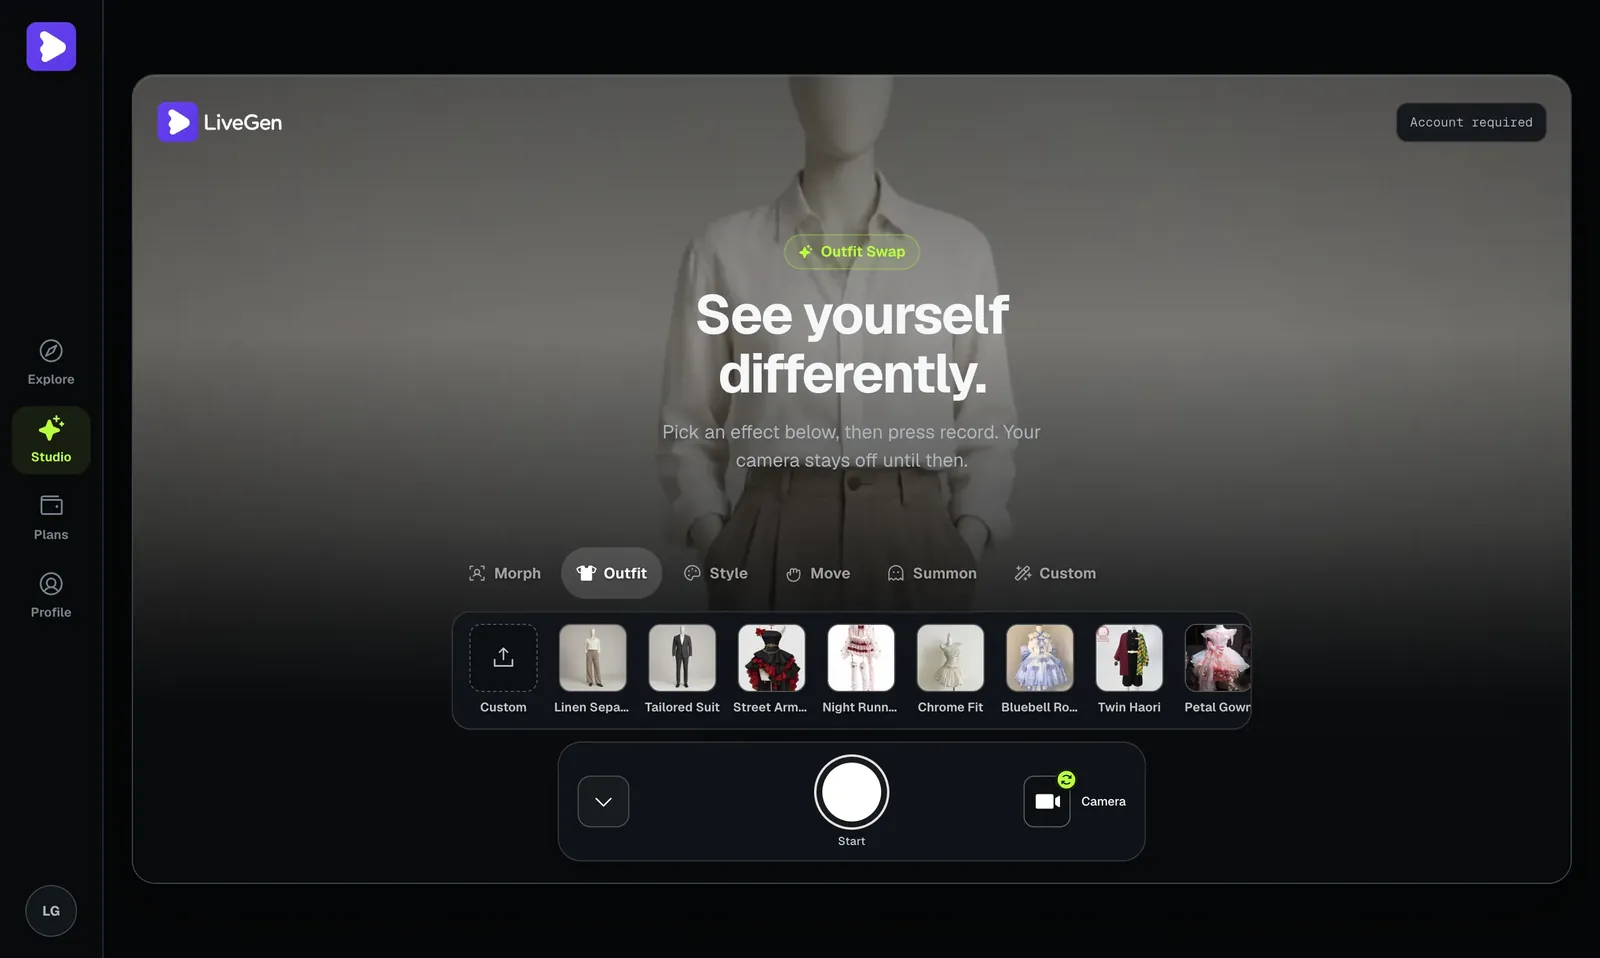
Two notes. On some systems only one application can hold a webcam at a time, so if OBS already has your camera open, deactivate that source while the Studio is running, or use a second camera. And LiveGen does not generate audio, so keep your microphone as its own OBS source. For a broader walkthrough that covers other modes, see the guide on how to add effects to your live stream.
Segment ideas: viewer-voted looks, themed nights, and cosplay previews
The effect is a tool. The segment is what people remember.
- ✓Viewer-voted looks. Put three outfit options in a chat poll, then switch to the winner live. Let chat suggest the next category (formal, streetwear, period costume) and keep a folder of references ready.
- ✓Themed nights. A retro game night gets a period wardrobe. A horror stream gets a gothic coat. A subscriber milestone gets black tie.
- ✓Cosplay previews. If you build real costumes, preview the design on stream before you cut fabric. If you want the whole character and not only the clothes, virtual cosplay covers when to reach for Live Morph instead.
- ✓Outfit plus world. Pair an Outfit segment with a Style segment. Style Morph restyles the whole frame, you and the room, as anime, clay, or a painting, which works as an intro or a raid welcome.
- ✓Short-form cutdowns. Record the best swap moments in the Studio and post them as short clips. A saved clip is MP4 on most browsers and WebM otherwise, capped at 64 MB, with no audio, so add sound in your editor.
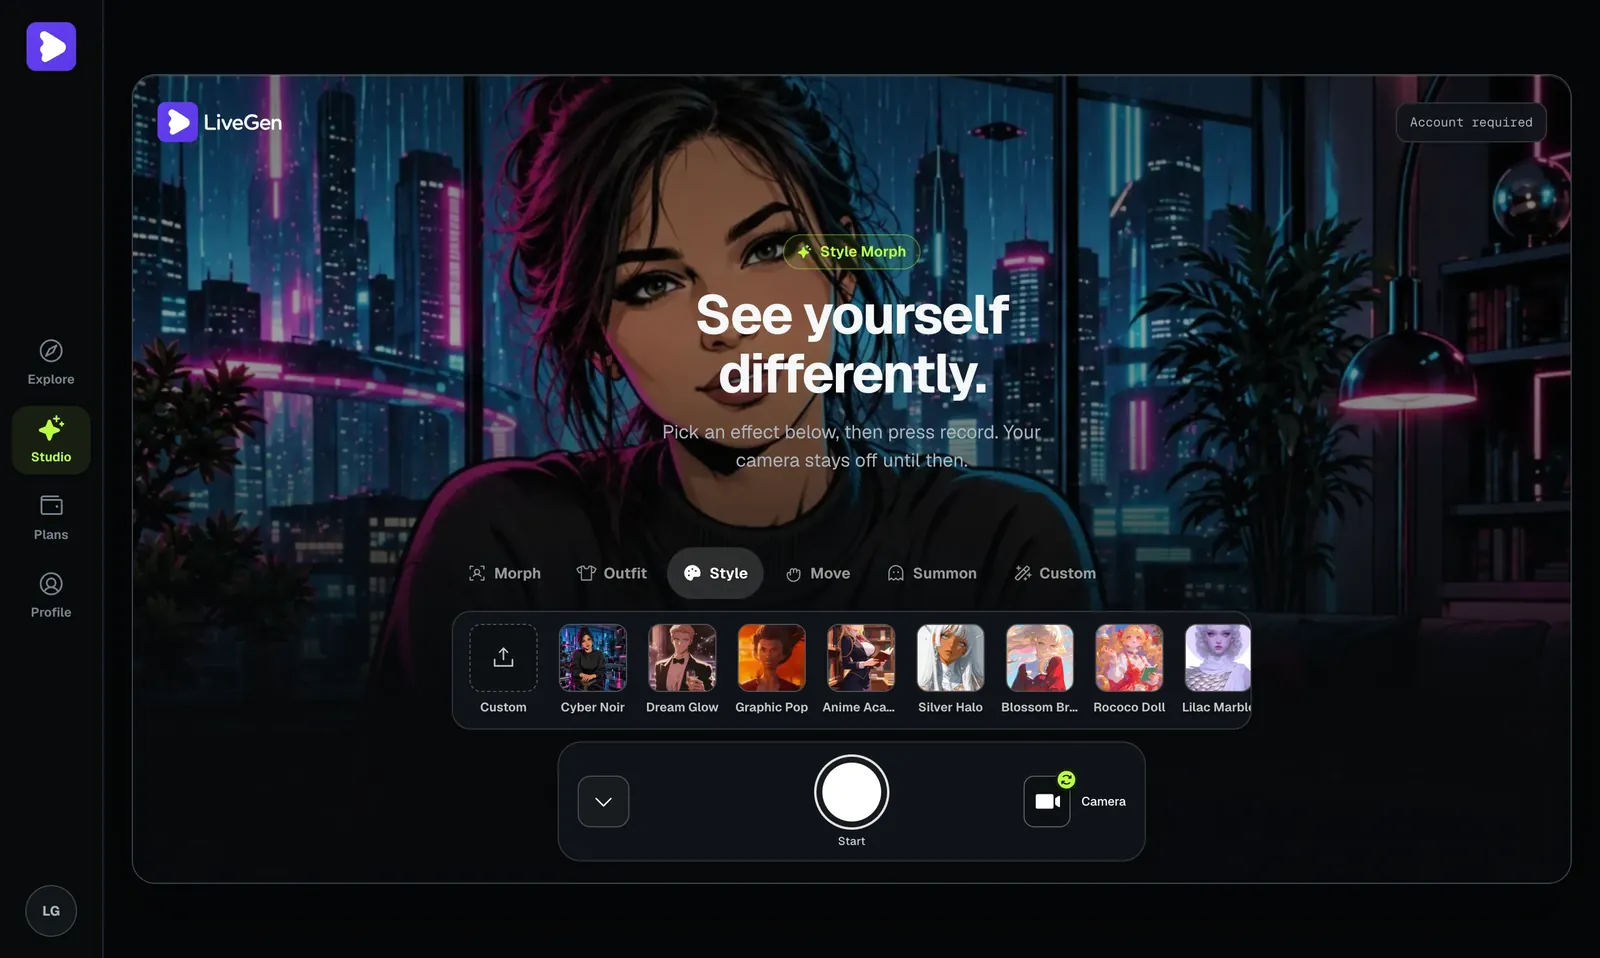
One rule for all of these: announce the segment. "Outfit vote in ten minutes" builds anticipation and gives you a clear start and stop, which matters for budgeting.
Camera and lighting setup for a clean on-camera outfit change
- ✓Frame from the waist up at minimum. If the look includes pants, a skirt, or a full-length coat, step back until it fits.
- ✓Light yourself evenly from the front. A key light or a bright window facing you beats a lamp behind you.
- ✓Lock the camera. A fixed webcam or a phone on a stand beats a handheld shot.
- ✓Wear something simple underneath. A plain, fitted top reads cleaner than a bulky hoodie or a busy print.
- ✓Keep the torso clear. Headset cables, a microphone arm across your chest, or a controller held high can confuse the garment boundary.
- ✓Use a stable connection. The video travels to the engine and back, on top of your stream upload, so wired internet or strong Wi-Fi helps.
Budgeting credits when outfit swaps are metered per second
Generation is metered in credits, one credit per second of live video. The math is simple: a five-minute outfit segment uses 300 credits, a ten-minute one uses 600, and a three-hour broadcast with the effect always on would use 10,800.
So treat outfit swaps like a featured segment, not a permanent filter:
- ✓Plan fixed blocks. Two or three timed segments per stream are easy to budget.
- ✓Stop generation when you cut away. Switching OBS scenes does not stop the session in the browser. If the Studio is still running behind your gameplay scene, it is still using credits.
- ✓Rehearse off air, briefly. Test each new reference for seconds, not minutes.
- ✓Check your balance before going live so a segment does not end early.
LiveGen is free to try. Free exports carry a watermark, and paid plans remove it and add HD. See pricing for current plans.
Where swapping outfits on a live stream still falls short
- ✓Logos, text, and small prints warp. A band tee or a jersey number will probably not survive intact.
- ✓Fast motion softens the result. Dancing, quick spins, and big arm swings look less crisp than slow turns.
- ✓Layered and very loose clothing wobbles. Open coats, capes, and wide skirts have edges the model cannot fully predict.
- ✓Occlusion causes flicker. A mug, a controller, a pet, or crossed arms in front of your torso can briefly break the garment.
- ✓Accessories do not carry over reliably. Hats, bags, jewelry, and shoes are not dependable. Think garments only.
- ✓There is some delay. The video makes a round trip to the engine, so check sync in OBS and add an offset to your microphone if lips and voice drift apart.
- ✓There is no LiveGen virtual camera. You capture a browser window. Apps that only accept a webcam device need your streaming software's own virtual camera output in between.
- ✓Rules still apply. Uploads are moderated and a Content Policy applies. If a reference shows a real person, use it only with their consent, and follow your streaming platform's rules on labeling AI-generated content.